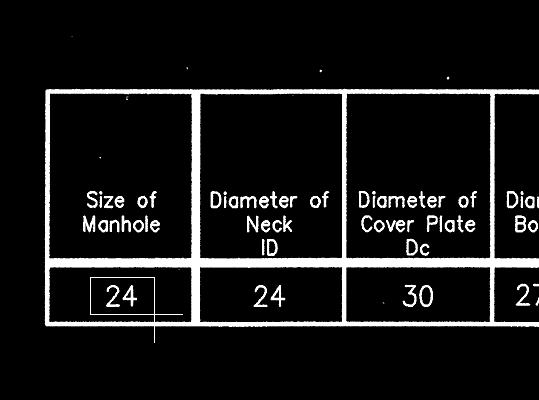
Let’s start with a bitonal TIFF image [Bitonal meaning that this is a 1-bit image, each pixel is either “On” (White) or “Off” (Black)]. Most large format scanners have the ability to scan to this mode. In this case, we have an existing scan of a drawing and everything is correct except for the two “24” numbers shown in the table here. We want to replace them with “28”

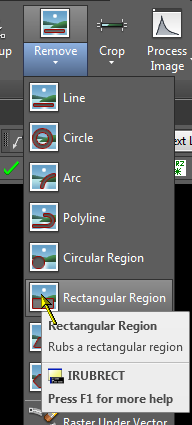
The first thing to do is to erase each “24”. Of course you can’t use the regular ERASE command. Switch to the Raster Tools ribbon and in the Edit panel, you’ll find a Remove drop down. Click this, then choose Rectangular Region. This will let you define a rectangular area of a raster image and delete it. (Of course what it’s actually doing is turning those pixels from “White” to “Black”)
Below shows us selecting a rectangular area around the leftmost “24”.
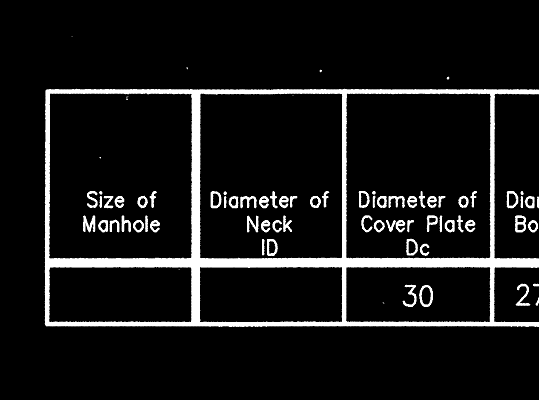
The next image shows both “24”s have been removed from the image.
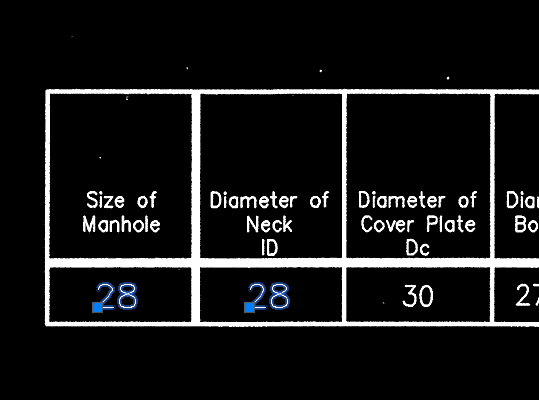
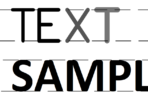
Now you can use your regular AutoCAD commands such as TEXT or MTEXT to create the needed text strings “28”. Notice in the image below we have created 2 AutoCAD Text entities. Now you have to decide whether or not you want to incorporate these CAD entities into the raster image, or leave them as CAD vector objects. In this case, we are going to merge the CAD text into the raster image.
To do this, click down on the Edit panel and find the command “Merge Vector”
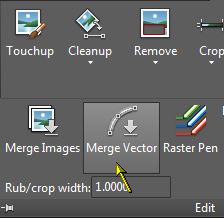
Click this command and follow the prompts. The image below shows the completed task and now the “28”s are part of the raster image and can be used in other DWG files.

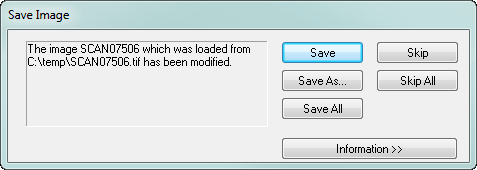
Be sure to SAVE the raster image after making your changes. If you try to save the drawing before saving the raster image, you will get a message such as this, reminding you that you have unsaved raster image changes.
This was a simple exercise in Raster Design. What are all those other Raster commands for? We’ll explore some more of them in the future.

Pingback: Weekly Roundup – 2015.36 | The BIMsider