- Working in model space, if your background color is black, change it temporarily to something else like grey.
- Draw a closed polyline around the area you are going to print, even if you have to zoom way out to cover multiple smaller areas.
- Create a solid hatch, using the closed polyline as the boundary.
- Change the color of the polyline and hatch to TrueColor 0,0,0. (If your background color is still black, the hatch and polyline will be invisible.)
- Using Draworder, move the polyline and hatch to the back.
- Lastly, whether you print from model space or a layout, make sure the printer setting for “Lines Merge/Lines Overwrite” is set to “Lines Overwrite“
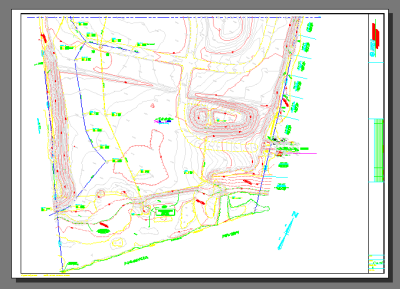
Here is a normal print (screen capture of a printed DWF file)
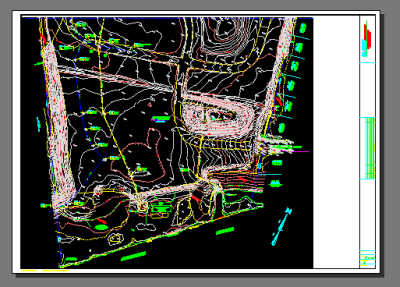
Here is the same drawing printed with a black background. The black only extends to the edges of the viewport obviously.
It’s also possible to put the black hatch object in the layout, but you have to ensure that “Plot Paperspace Last” is unchecked in the page setup.