Start a new empty drawing.
Start the Mtext command, and create a new Mtext object starting at 0,0.
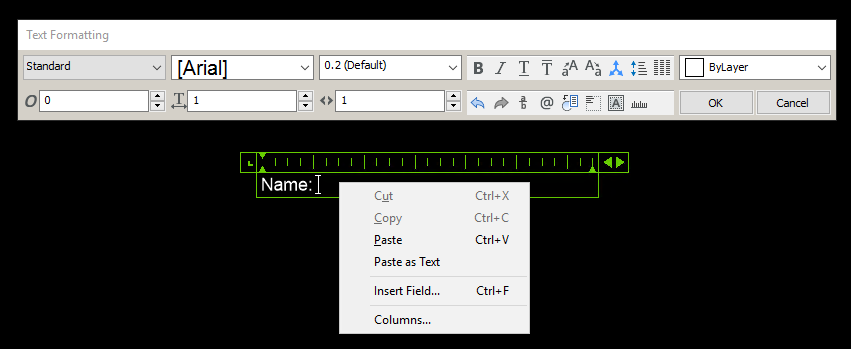
In this example, we’ll add a name and the printed date. So we start by adding the Text “Name”.
Next, right-click and select “Insert Field”.
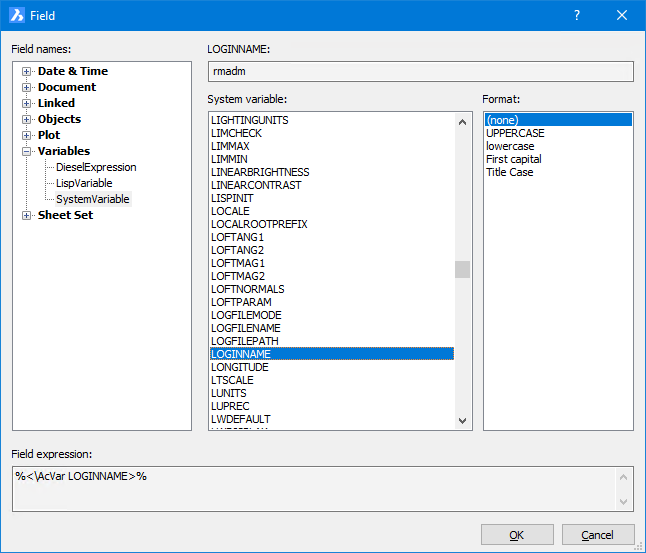
Next, in the dialog that opens, choose Variables, SystemVariable, then LOGINNAME. This will capture the loginname of the current user. Change the Format as desired.
Click OK, then proceed with the next bit of data, in our case, the printed date. So we add the text “Printed Date”, and click “Insert Field” again.
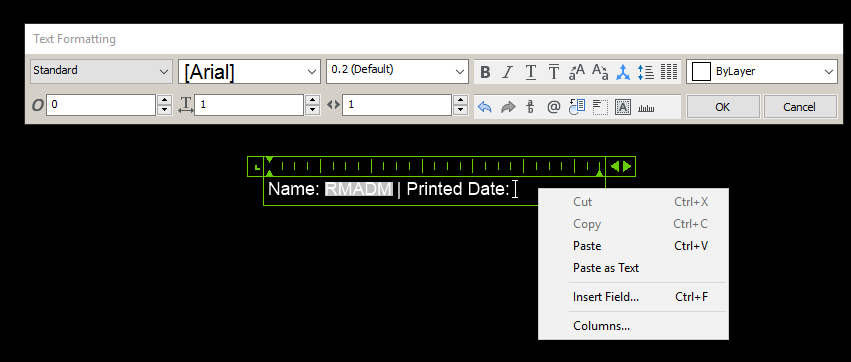
This time, in the Field dialog, we’ll choose Date & Time, PlotDate. Choose the format that you desire here also.
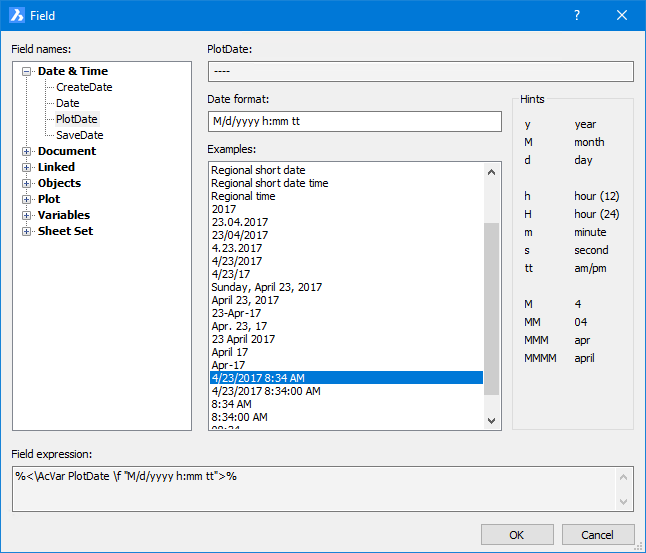
Click OK. Note that the Field will be blank. Don’t worry, when we insert this as a block and print the drawing, it will expand and contain the date and time of the print.
For our example here, we are done. Feel free to add anything else you want to this drawing. You might want to add your company logo, or maybe a border. Be sure to extend the Mtext width out wide enough to prevent the string from wrapping expectantly.
Save the drawing. Insert it into a sheet, typically along the lower left edge, as shown below.
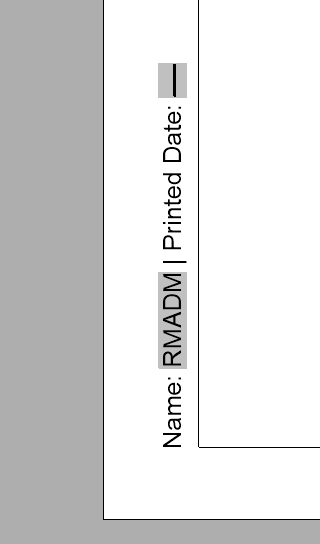
Note that the fields are identified by the grey shading. This will not print. Also note that the Printed Date is missing. It will populate when you print.
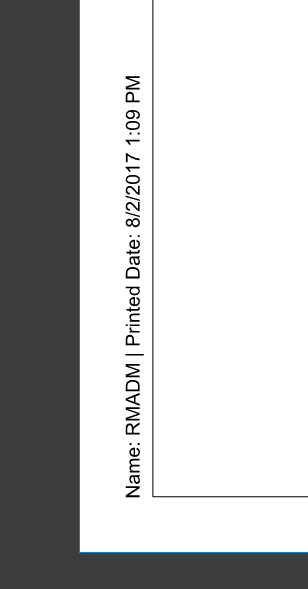
Below is a screenshot of the printed version of this drawing. The printed date is now visible.
Happy Cadding!