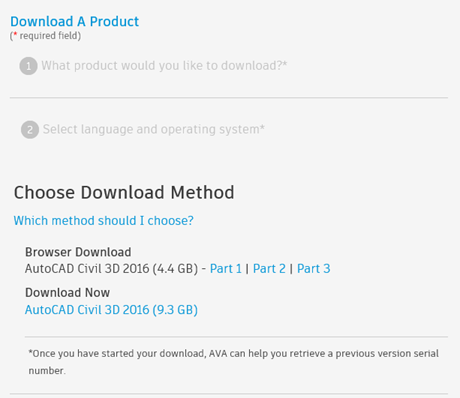
To get started, visit the Autodesk Virtual Agent. You may have to use the term “download” in the search bar, in order to get the downloads to appear on the right side. Follow the wizard through the various questions and screens. Eventually you will get to the download link or links. NOTE: USE THE BROWSER DOWNLOAD METHOD. Don’t say you were not told! (Some products may include multiple downloads, simply download each link into the same folder.)
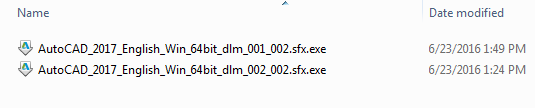
After this is done, click on the EXE file. In the example below, for AutoCAD 2017, 64-bit, there are two files. The numbers at the end represent 001 (file 1) and 002 (of 2 files). Run file 001, or if you only have one file, run it.
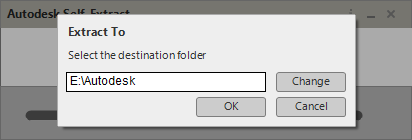
The first screen you will see in a moment should look like this. Select a destination folder. It will default to C:\Autodesk, but in this case we’ve changed it to E:\Autodesk. Then press OK.
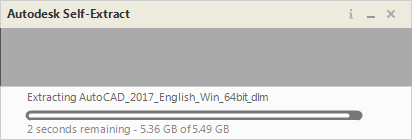
Next, the file extraction will take place. It takes a couple of minutes to extract AutoCAD 2017.
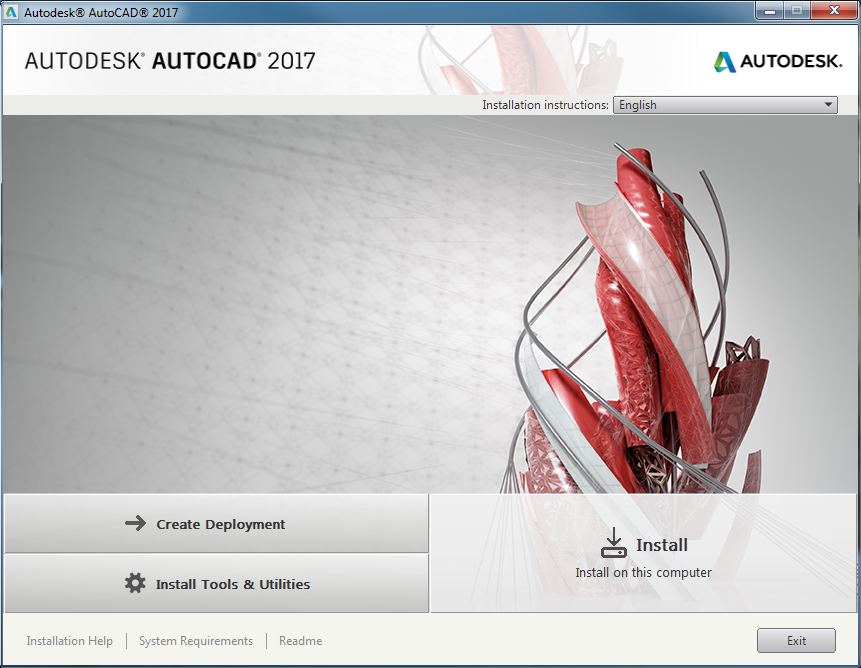
Once this has completed, the installer will appear.
If you are not ready to install at this moment, or you want to install on a different machine, simple press Exit and cancel the install.
The files will remain in place in the location you chose earlier (in our case, E:\Autodesk)
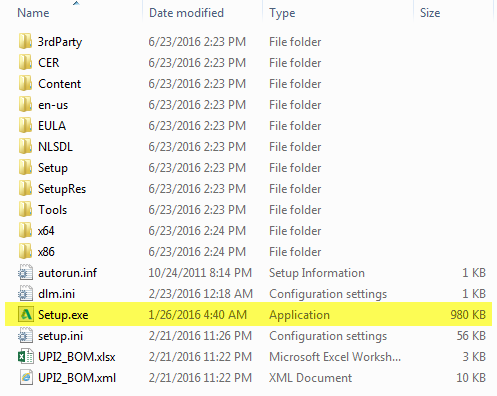
When you get ready to do the install, run the Setup.exe file.